Technical Article
Center-Filled Snacks: How to Specify and Check the Filling Ratio
If a supplier quotes a center-filled snack line at 240 kg/h, ask where that weight is measured. A filling target of 25% can refer to the product at the die or to the finished product after drying and cooling. Those two specifications can require different pump settings, even when the recipe and the machine are the same.
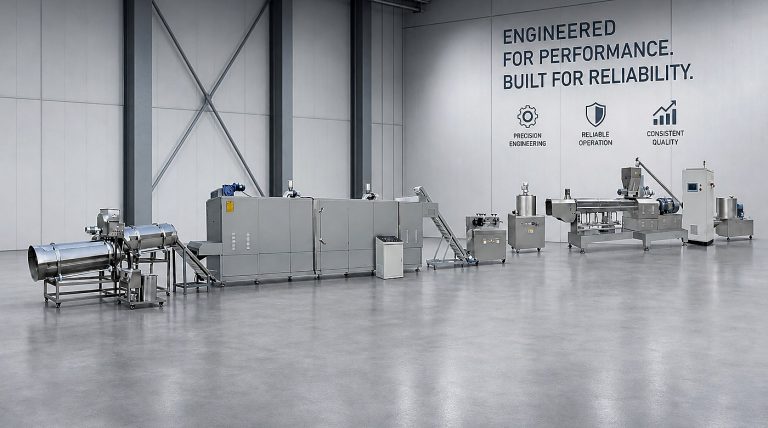
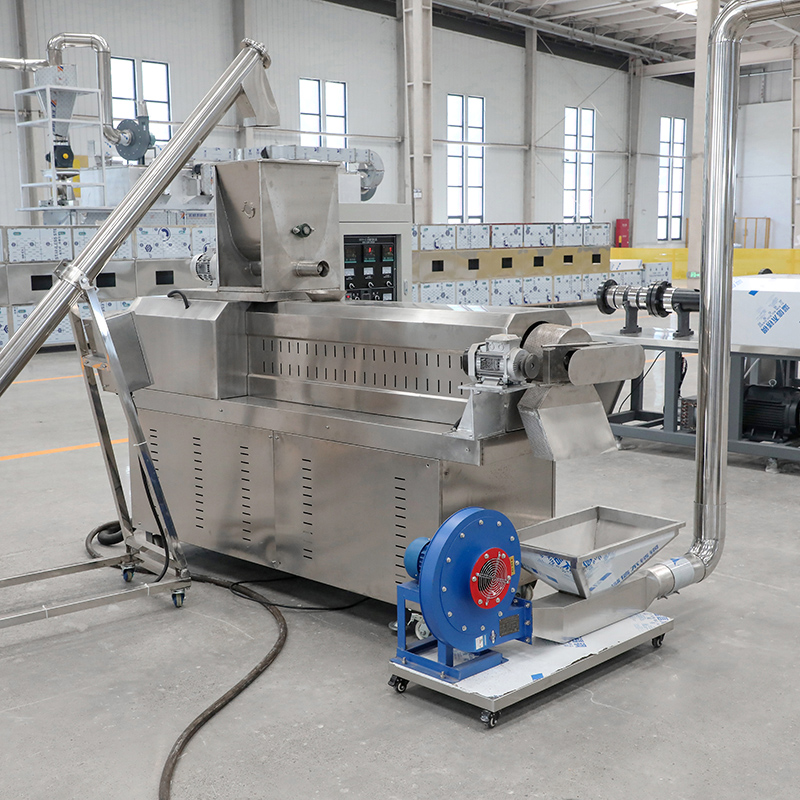
Use the steps below to write a measurable filling specification for cereal pillows, filled sticks or similar snacks. The center-filled snack production line page explains the equipment from shell extrusion and filling injection through drying and cooling.
1. State the percentage and where it is measured
Filling percentage by weight is the filling mass divided by the total mass of the snack, multiplied by 100. A 25% filling specification means one part filling to three parts shell by mass. The percentage alone says nothing about whether the filling is centered or whether every piece contains the same amount.
For a quote, specify whether the target applies after forming or after cooling, and whether it excludes any external coating. For a 3 g finished piece at 25% filling, the target is 0.75 g filling and 2.25 g shell on the same measurement basis. Define how the finished filling mass will be estimated or measured if the shell and filling cannot be separated cleanly.
2. Convert the target into two feed rates
Assume the line must form 240 kg/h of combined shell and filling, before drying or rejection. At 25% filling, the starting material balance is 60 kg/h filling and 180 kg/h shell. Enter both rates in the trial brief. If a pump is rated in litres per hour, use the measured filling density at the feed condition to convert volume to mass.
These are illustrative calculation values for one intake point. If that example loses 20 kg/h of water from the shell and filling mass is unchanged, the same 60 kg/h of filling accounts for about 27.3% of the 220 kg/h product after drying. Real products can also lose or exchange moisture in the center. Use measurements from the planned recipe and process rather than treating that example as a dryer correction factor.
3. Check consistency across a stable production run
- At the die: Log the shell and filling mass rates for the same time interval. Record filling temperature and the pump setting so an observed change can be traced to the run conditions.
- After forming: Section representative pieces from different sampling times and, where applicable, different lanes. Check center position, shell thickness and whether the end closure has squeezed out the filling.
- After cooling: Weigh and inspect finished pieces for leakage, cracks and texture change. Record rejected pieces separately from accepted output.
Agree on the sampling plan, measurement method and acceptable variation before the trial. A run can have the right average filling percentage while individual pieces have thin walls or lose filling during cutting. For related checks, use the center-filled cereal process guide and the factory acceptance test checklist.
4. Put the filling specification into the quote request
Give each supplier the same product brief so the pump, die, cutting and dryer scope can be compared. Include:
- Product photo or sample, finished piece size and target weight.
- Filling type, how it is prepared, its behavior at the feed condition and any handling limits.
- Target filling percentage by weight, the measurement stage and acceptable variation.
- Required accepted finished output, plus the shape, leakage and breakage criteria for the trial.
For an early estimate of accepted output per shift, use the extrusion line capacity calculator. To discuss equipment and trial requirements, send ZEKO a center-filled snack project brief.
Technical reference for filling preparation, metering and injection equipment. Clextral co-extrusion filling platform.
Continue Reading